There are many compilers to program with C++. It’s a matter of personal preference but in the code samples in the free articles and book are running from Microsoft Visual Studio, as it’s my favourite Integrated Development Environment (IDE).
If you have never used Visual Studio before and don’t know how to set up a C++ project in visual studio, follow these simple steps.
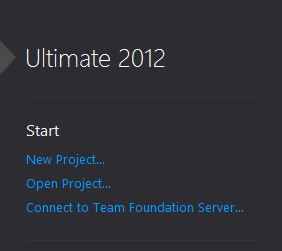
Step 1: Start Visual Studio by launching it from the shortcut from your desktop or by finding it in “all programs”
Step 2: Click on new project
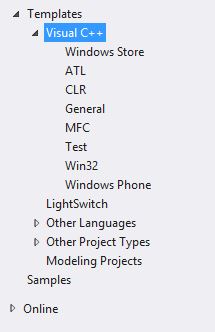
Step 3: Click on Visual C++
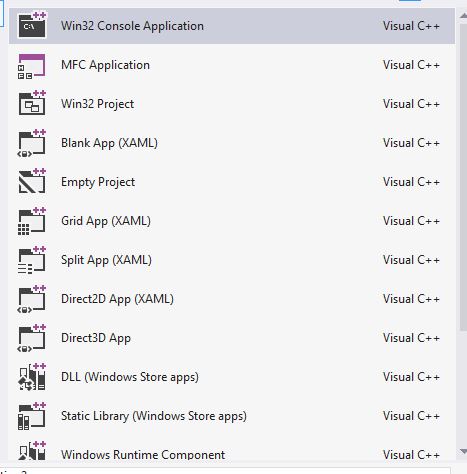
Step 4: From the list of templates, select Win32 Console Application
Step 5: Give it a name and click ok
 Step 6: A window will now open up, just click next
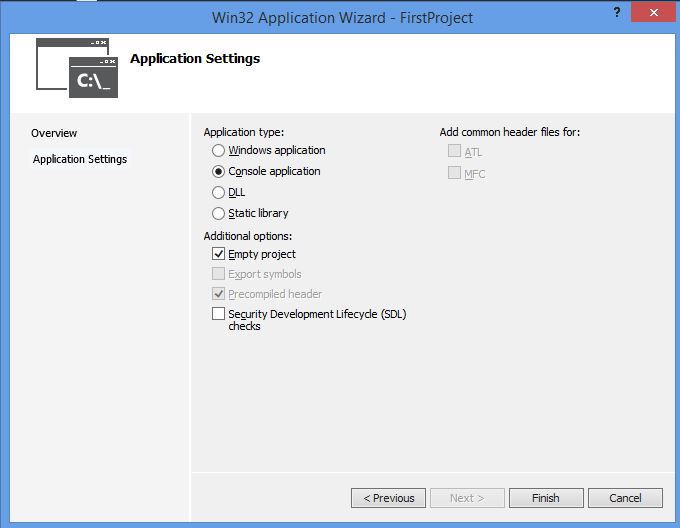
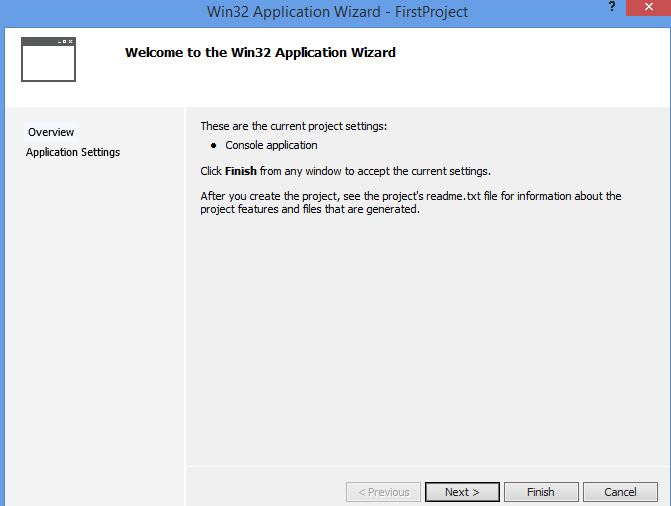 Step 7: For the application type, make sure it’s set to “Console application” and in additional options, choose “Empty project”. When those options have been set, click on “Finish”
Step 8: The project has now been created with a solution explorer on the left side
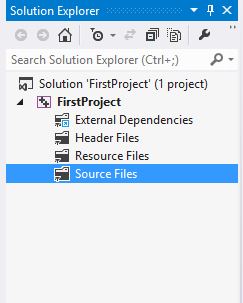
Step 9: Right click on “Source Files” then add. From the menu, choose “New item”

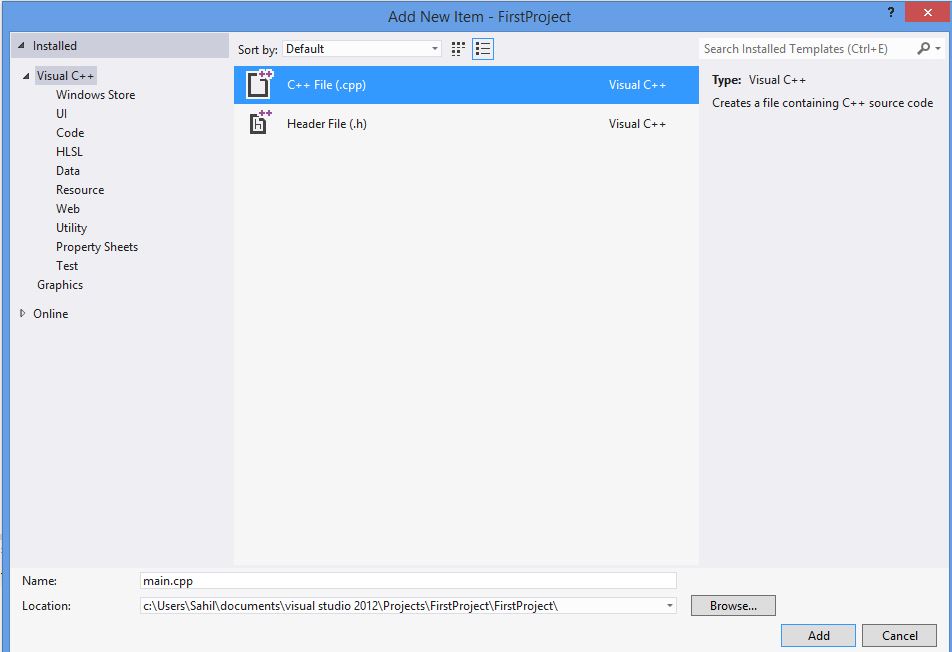
Step 10: From the menu, select “C++ File.cpp” and give it a name, then click add
 Step 11: You are now ready to code an application in C++